Designing engaging conversations and building virtual assistants on the Kore.ai XO Platform involves a crucial step: creating and testing dialog tasks. This process plays a pivotal role in crafting seamless interactions and ensuring the success of your virtual assistant. Together with the Conversation Designer, Dialog Tasks are an essential tool in building conversations that are connected to your business logic.
In the examples below, a simplified version of our Virtual Travel Assistant is designed to provide real-time flight status updates for arrivals and departures at Los Angeles International Airport. This use case will help you gain more in-depth knowledge about building specific scenarios within your intelligent virtual assistant (IVA).
What is a Dialog Task?
Dialog Tasks are the infrastructure that the Kore.ai XO Platform provides for building conversation-based interactions between Intelligent Virtual Assistants and Users, and integrating these interactions with business systems and processes.The Dialog Task development process consists in three main stages, built into the structure made available to you by the XO Platform:
- Design your conversation flow using natural language.
- Build business logic into your conversation.
- Train: Once you are done creating your conversation flow, you can train your VA on it.
The Design and Build stages work in sync, so that you can generate logical flows and integrate business processes while simultaneously working based on conversational elements. Essentially, this allows you to see what the conversation looks like between a user and the IVA. This is achieved using two important features, called the Conversation Designer and the Dialog Builder, respectively.
Step One: Create the Assistant
To build your Travel Virtual Assistant, follow the steps below. If you have already created your virtual assistant, skip to the next step.
- On the landing page, click New Bot.
- In the Create New Bot window, select Start from Scratch.
- Enter a Name.
- Select an icon or click the + icon to upload your own. Images should be in PNG format and should not exceed 40×40 pixels. The file size is limited to 80kb.
- Select Travel Management as the Purpose of your VA.
- Choose Standard Bot as the Bot Type.
- Select the Default Language.
- Click Proceed when ready.
- Next, you can generate use cases for your new Intelligent Virtual Assistant. Add a meaningful description and click Get Use Cases to generate intents that will be automatically added to the IVA. You can update the Bot Name and Purpose and remove use cases.
- Click Create to create your IVA with generated use cases, or click Create without Use Cases to create your IVA without any generated use cases.
- Wait a few moments for your IVA to be configured. Once done, you can continue developing it. If you have chosen to generate use cases, you will find them as Dialog Tasks.


Step Two: Create a Dialog Task
After creating your assistant, you are directed to the Bot Summary page. The first step is to add an Intent Dialog to support various business-specific use cases. The Intent Dialog is the first step in the user-IVA conversation flow.
- On the Tasks widget, click + New Task and select Dialog Task.
- On the Create Dialog page, enter the following details:
- Intent Name – Enter the Intent name. This is the phrase that triggers the dialog. The intent name must be simple and not more than 3-4 words. For example, Check flight status.
- Under More Options, you can add a description and other dialog-related details. Let us retain the default settings.
- Click Proceed.
- When prompted to upgrade to Conversation Driven Dialog Builder, select Upgrade. For instructions on the Legacy Dialog Builder, refer here.
- Once your task has been created, you will see the Dialog Builder Canvas, with the first node displayed – the Intent Node, which receives the name of the task and represents the main node within the Dialog Task. Learn more about working with the Dialog Builder.


Step Three: Create the Nodes
To allow the IVA to be able to capture travel and user information, search for flight details using APIs, and display a chosen message with the flight status. Then nodes have to be created.
The following nodes will need to be created:
- a User Preference Entity node to gather information from the user.
- a Service Bot Action node to get flight information.
- a Flight Selection Entity node to capture the flight number for status details.
- a Script node for custom JavaScript to extract the selected flight details.
- a Message node to display a message with the flight details to the user.
- an Error Message for when the user provides input that cannot be identified by the IVA.
For detailed step-by-step instructions on each of these nodes, visit the Kore.ai documentation site on Create a Travel Virtual Assistant.
Step Four: Add Events
After the nodes and messages are built, the assistant is ready for user input. To establish a flight status event as soon as a new conversation is started between the user and the IVA, you will need to use an Event Handler. The Event Handler will initiate this task every time a new connection is established from the Web/Mobile SDK. Learn more about Event Handlers.
- Close the Dialog Builder to go back to the Dialog Tasks page.
- From the Left Navigation pane, and select Intelligence > Events.
- From the events list, click Configure against the On Connect event.
- On the On Connect window, by default, the Initiate Task option is selected; retain it.
- From the drop-down list, select the Get Flight Status task.
- Click Save.

Step Five: Test the Dialog Task
To test the Dialog task, you can use the Talk to Bot option at the bottom right. Since the onConnect event is configured, the dialog is automatically initiated. Alternatively, you can always try the following utterance (intent name) Get me the flight status.
Follow the instructions:
- Select Arrival / Departure.
- Enter an invalid flight number rather than selecting one of the prompts.
- You can see the appropriate error message and be prompted to enter the flight number again.
- Select a flight number from the prompts.
- You can see the flight details in a tabular format.
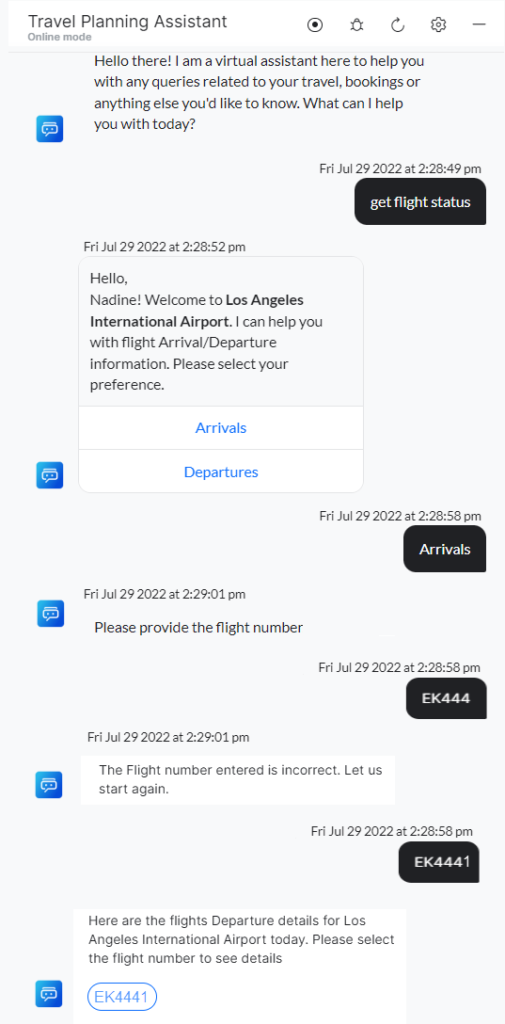
You have successfully created and tested your first Virtual Assistant.
Want to Learn More?
We're here to support your learning journey. Ready to take on bot building but not sure where to start? Learn conversational AI skills and get certified on Kore.ai Experience Optimization (XO) Platform.
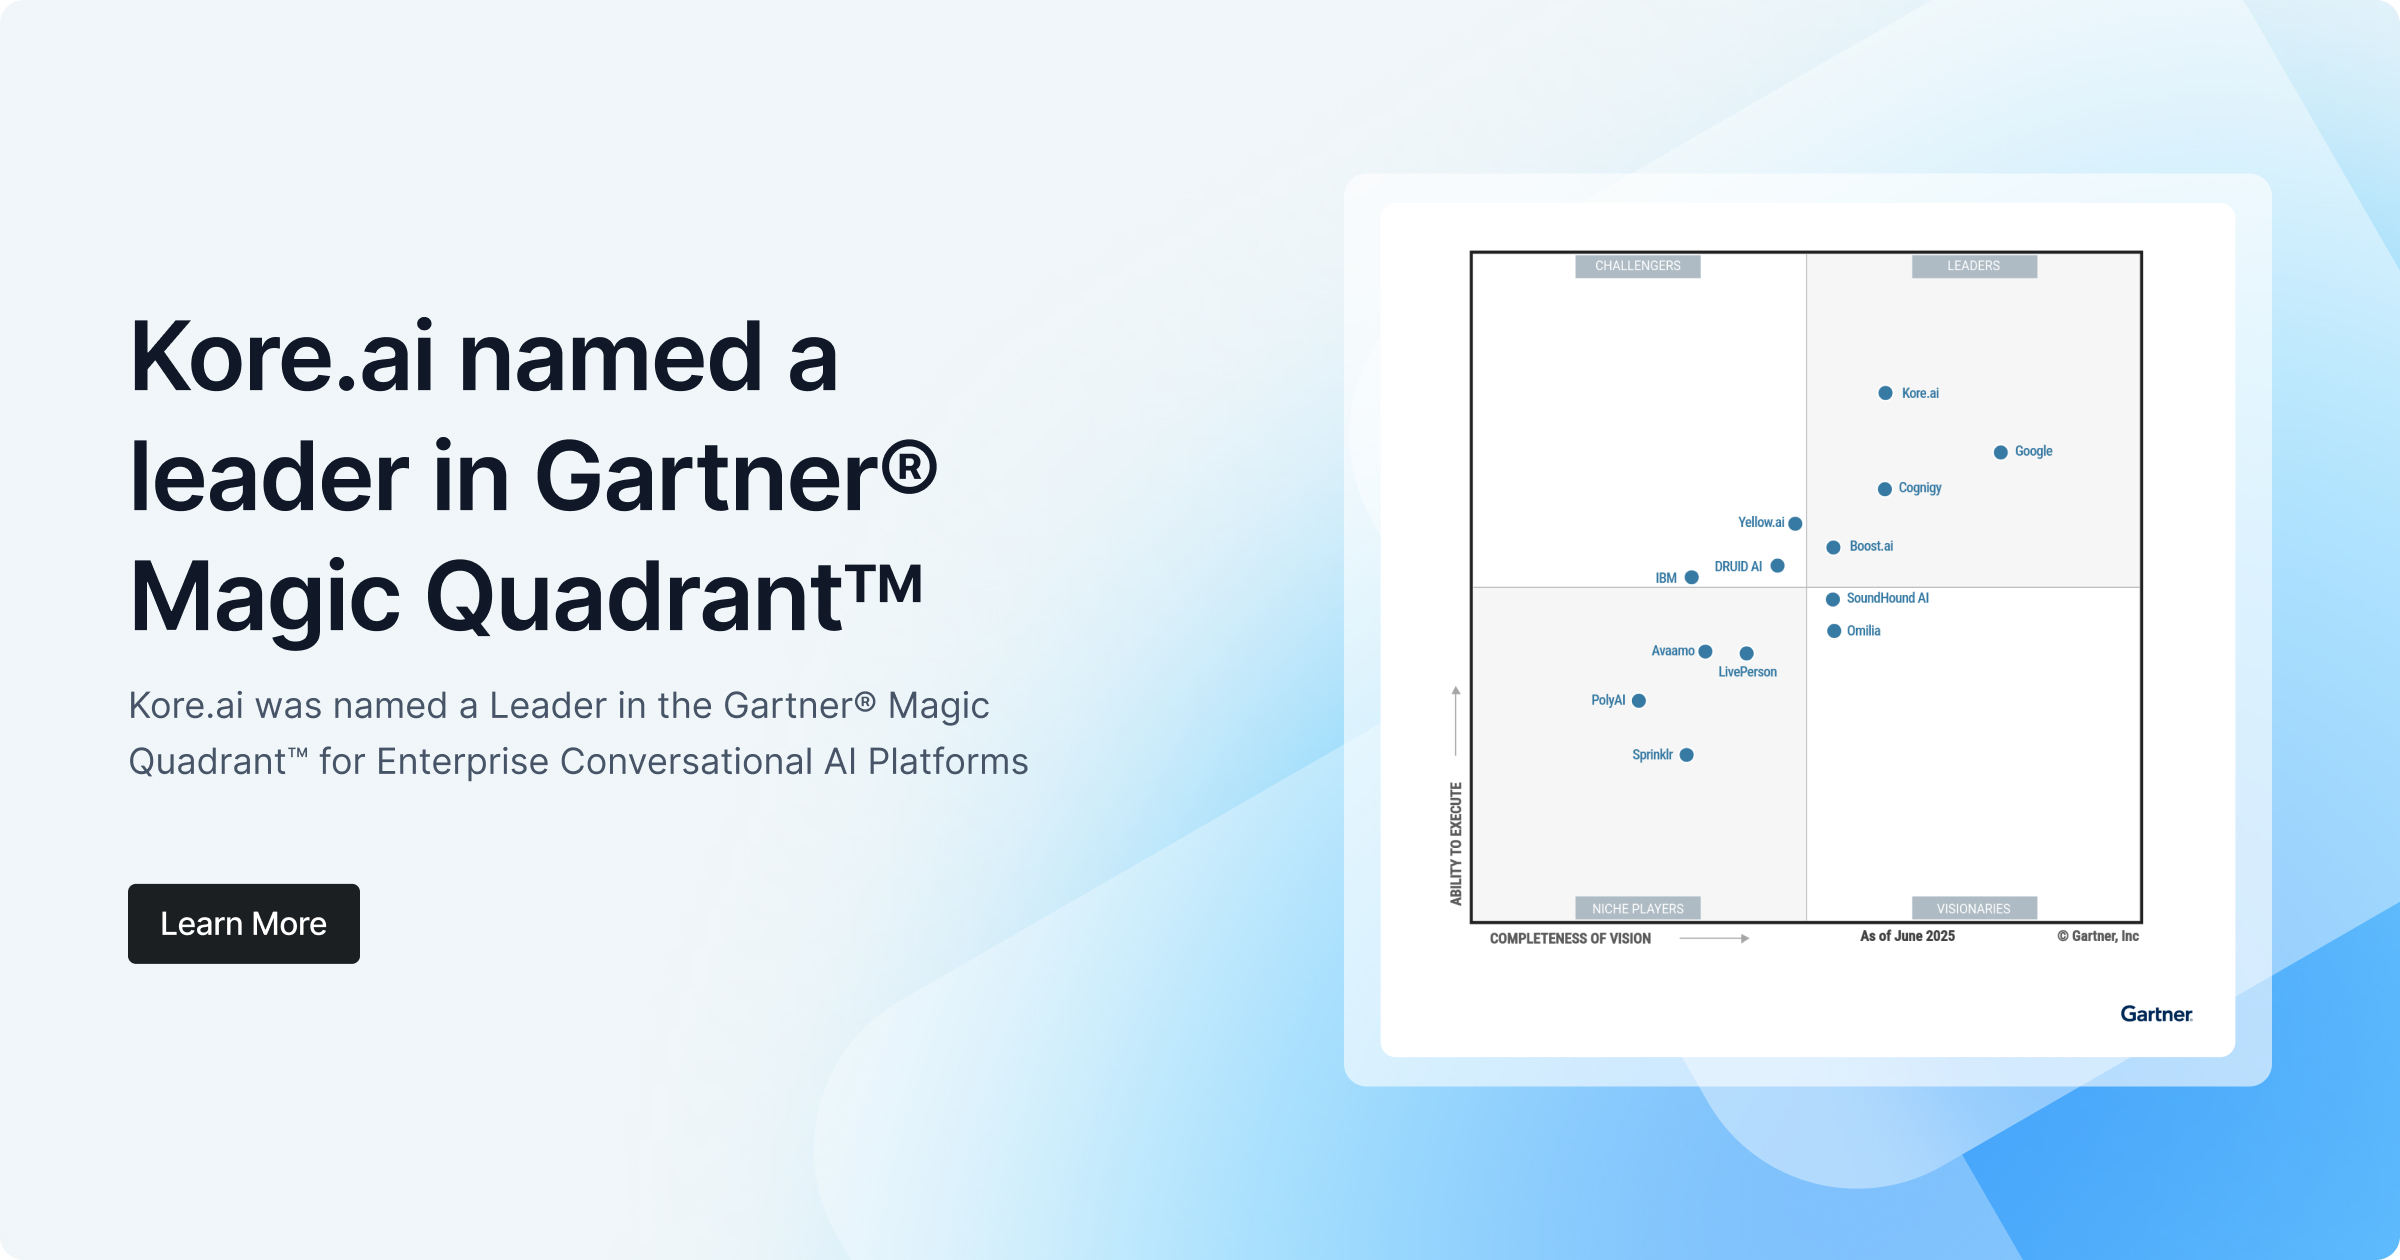
As a leader in conversational AI platforms and solutions, Kore.ai helps enterprises automate front and back-office business interactions to deliver extraordinary experiences for their customers, agents, and employees.


-1.jpg)


