Capturing leads on Salesforce streamlines the process of gathering and managing potential customer information.
Automated lead capture solutions for Salesforce empower anyone to convert more prospects into customers, improve communication, and ultimately drive growth. This integration not only boosts productivity across sales teams but also fosters stronger customer relationships.
Additional benefits:
- Automate Lead Collection: Capture leads from an AI chatbot without manual entry.
- Improve Lead Quality: Gather essential information upfront, allowing your sales team to prioritize and engage with high-quality leads.
- Enhance Follow-Up Efficiency: Automatically assign leads to the right sales reps based on predefined criteria, ensuring timely follow-up.
By using an AI chatbot for lead capture, you can provide a dynamic and interactive experience for potential customers. The Kore.ai XO platform allows for easy integration with any system—including Salesforce.
Below is a guide on how to get started.
Sign up for a Kore.ai account
The first step is to sign up for an account on the Kore.ai XO Platform.
Once signed in, select ‘New App’ to start your AI Chatbot build
Begin your new app project by selecting Automation AI. Once you’ve chosen, select ‘Custom Setup’ and follow the prompts to build your AI chatbot.
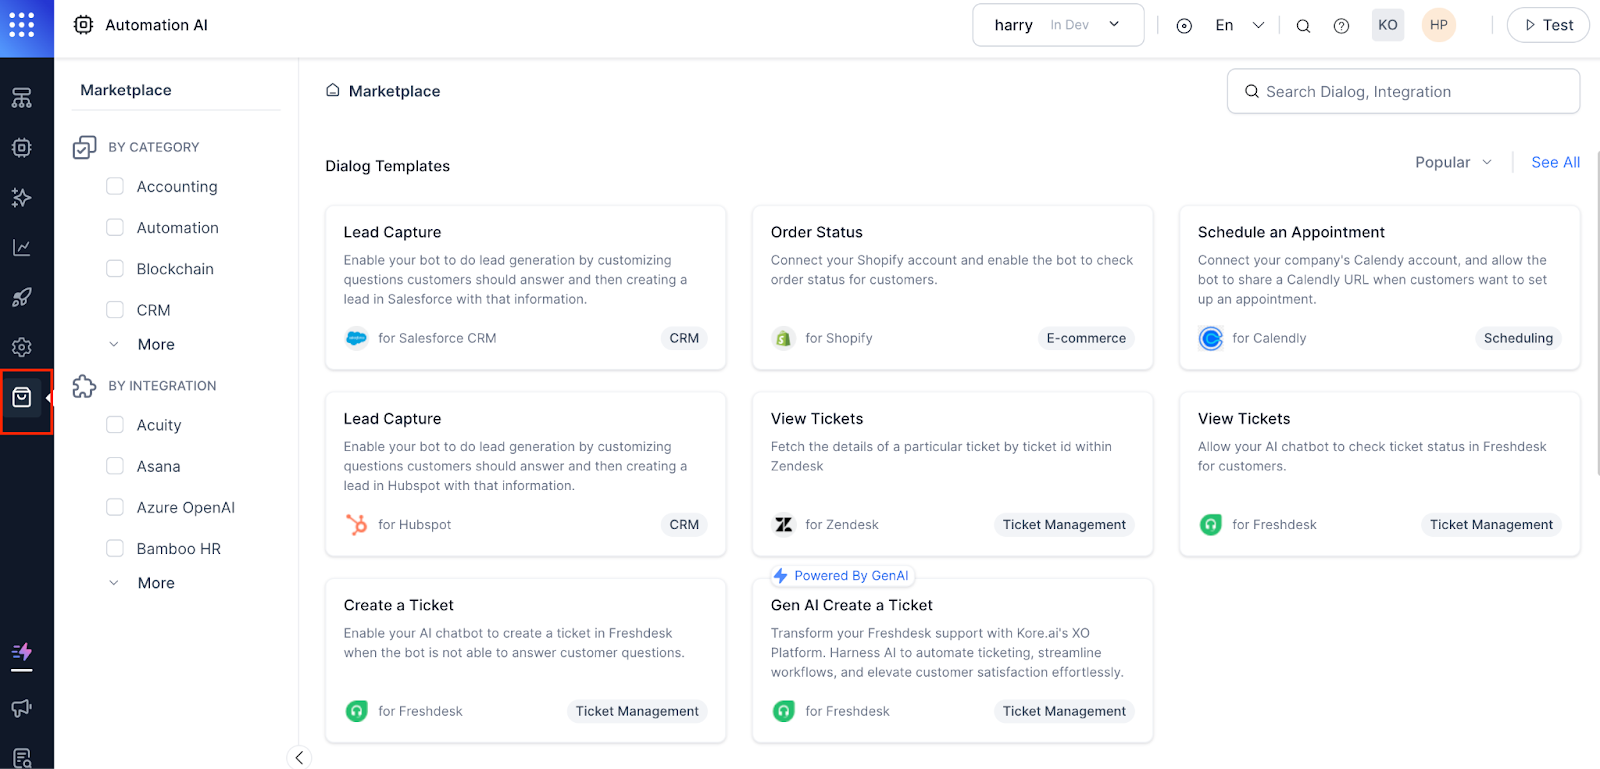
Navigate to the marketplace and add the Salesforce CRM integration
Under 'By integration,' search and select Salesforce for the suitable template. From there, you can configure Salesforce, including instructions and authorization.
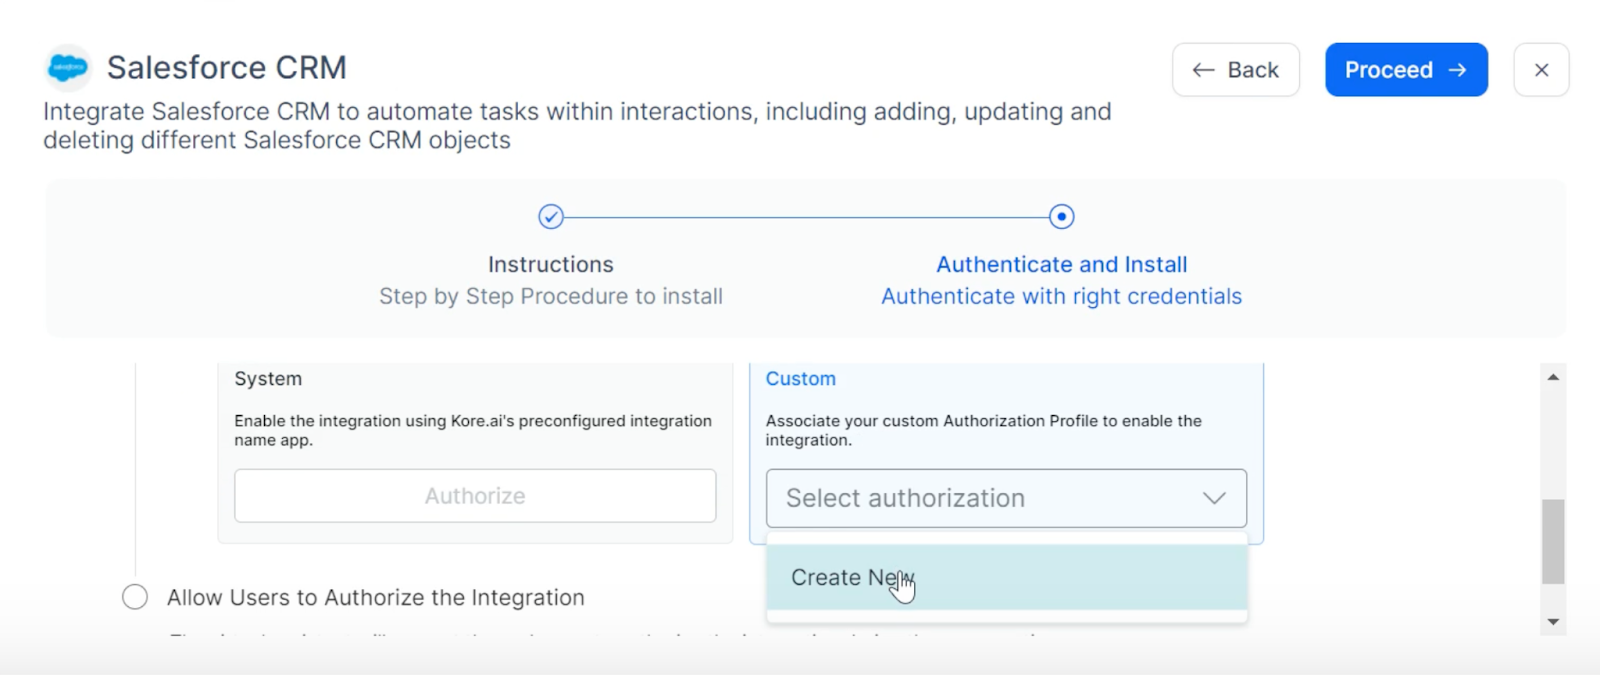
Authenticate and install
After you add the Salesforce CRM integration, follow the step-by-step instructions and proceed to ‘Authenticate and Install.’ Under Custom Authorization, select ‘Create New’ from the dropdown menu.
You will be instructed to select a New Authorization Mechanism. You can use the ‘oauth V2’ authorization type for this integration.

Enter the Identity Provider Name (Salesforce), Client ID, Secret Key, Authorization URL, Token Request URL, Scope, and Refresh Token URL.
Save your authorization with the blue button at the bottom of your screen.
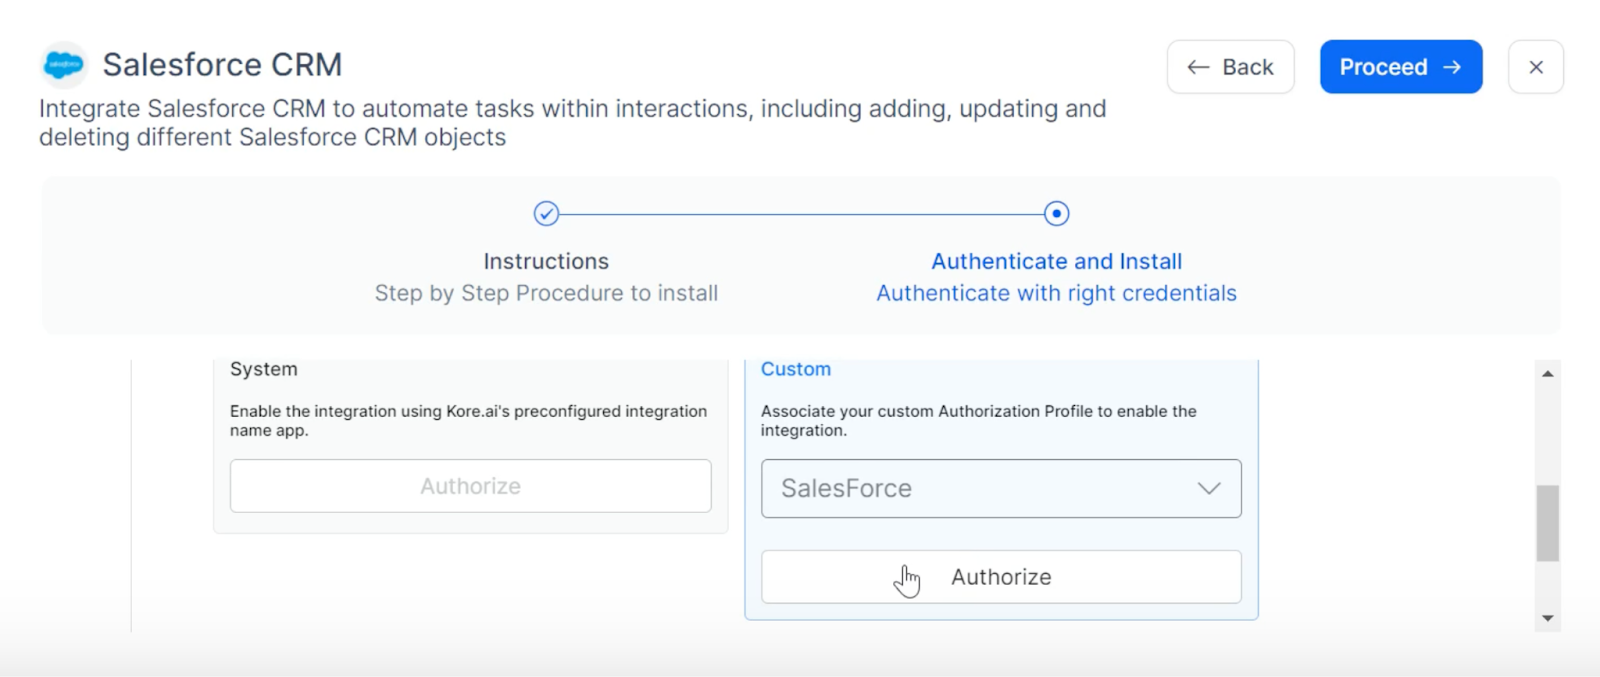
Authorize your Salesforce integration
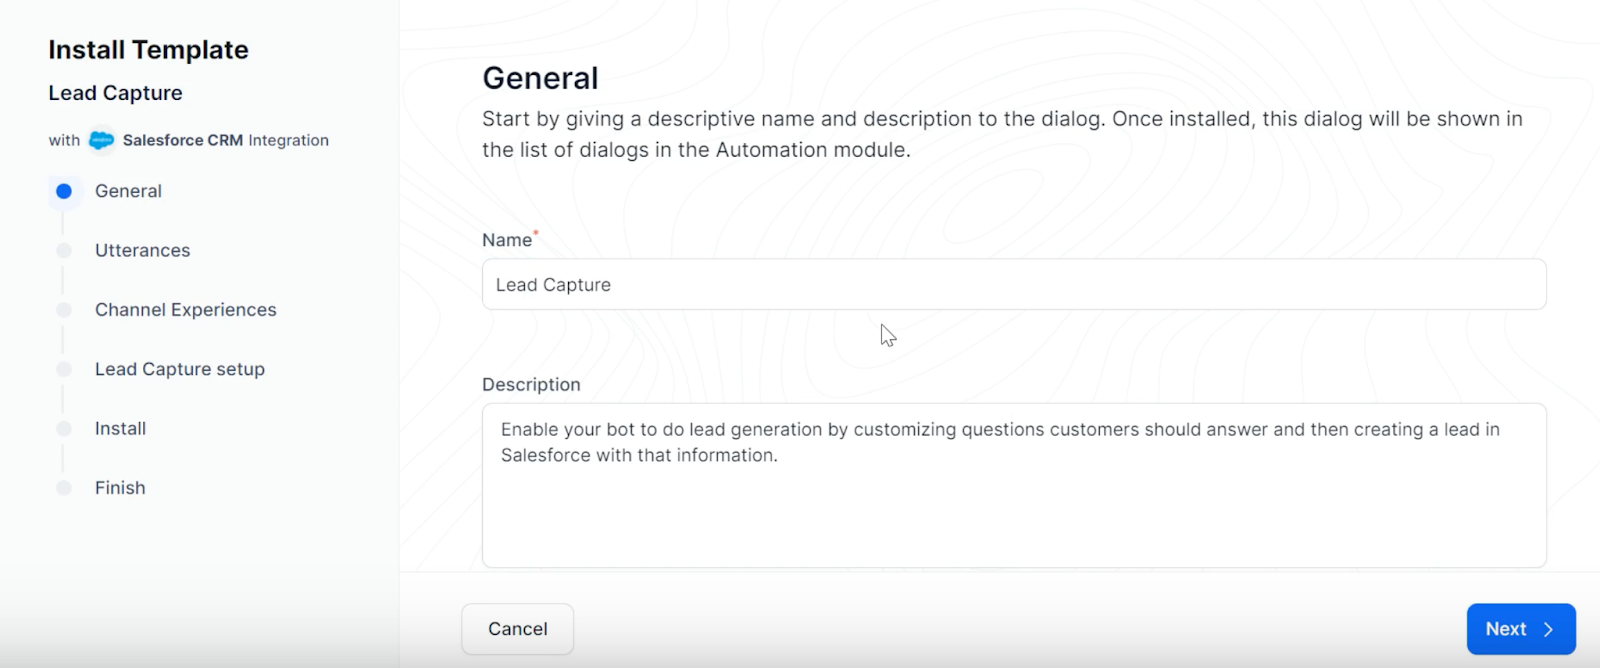
Follow the install template
Progress through the guided steps to finalize your template integration.
Test your new AI chatbot integration
After the template installation, you’ll be brought to the Dialog page. Click ‘Test’ in the upper right-hand corner of your display. You will be given the option to select a Voice or Chat Conversation to test the flows.
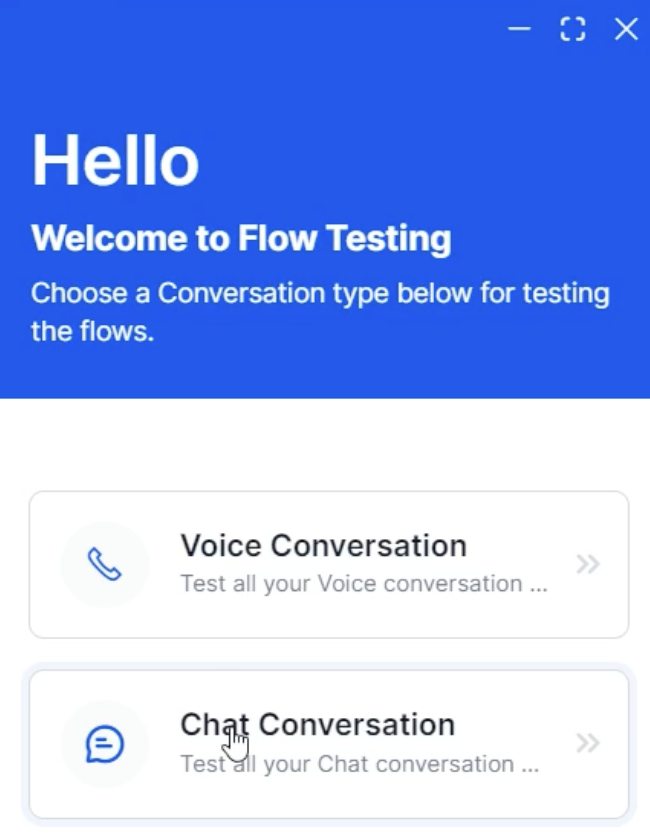
For this example, we’ll focus on Chat Conversation. Once selected and your AI chatbot pops up, you can ask it anything about lead capture. You can even simply type, ‘Can I connect with someone from sales?’
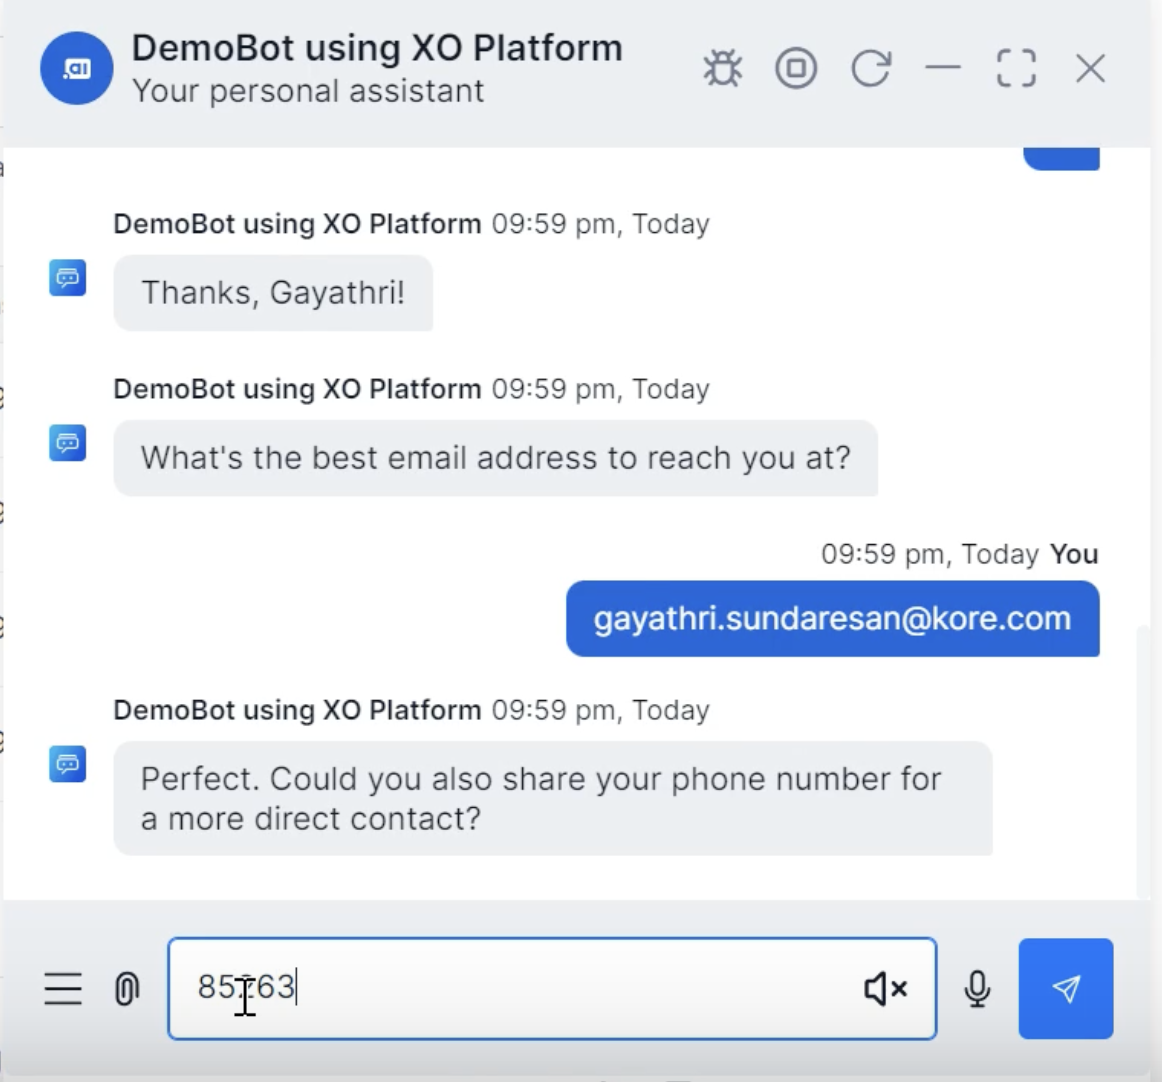
The AI chatbot will collect lead capture information from the customer conversationally.
Confirm your integration is working
While logged into Salesforce, you can view the lead capture events created by Kore.ai. Feel free to run tasks like qualify leads, nurture contacts, and track interactions, easily and efficiently from a unified platform.